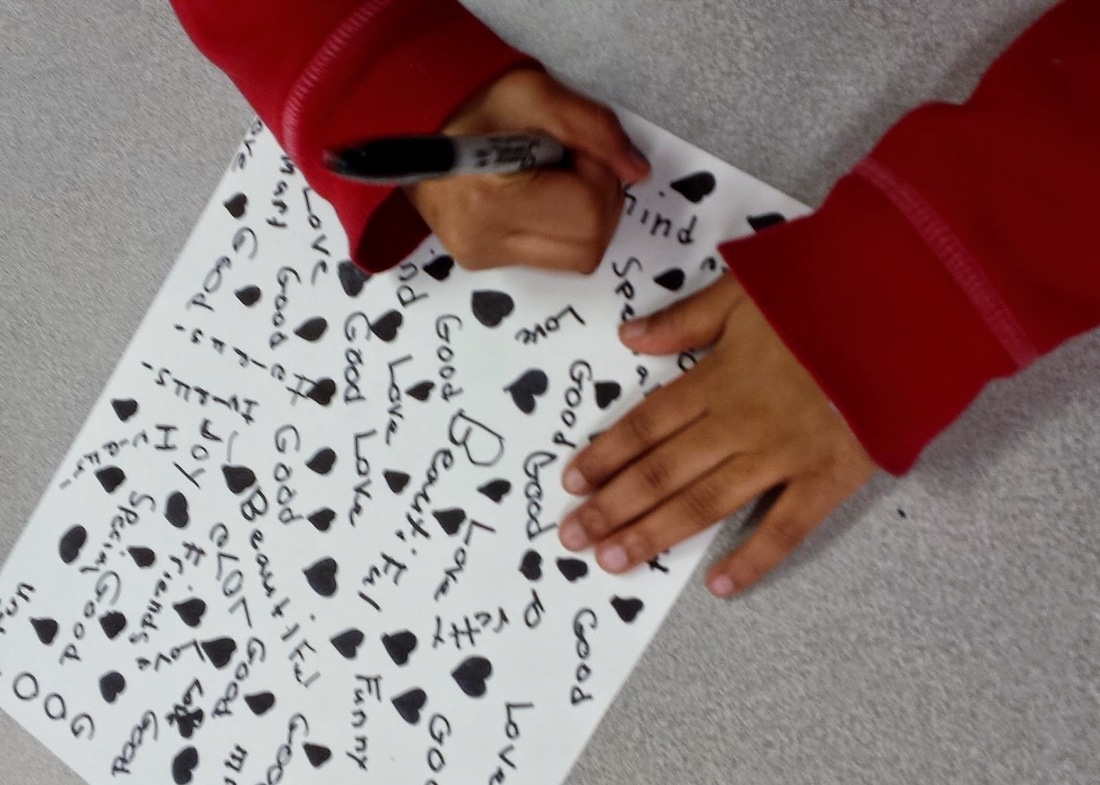
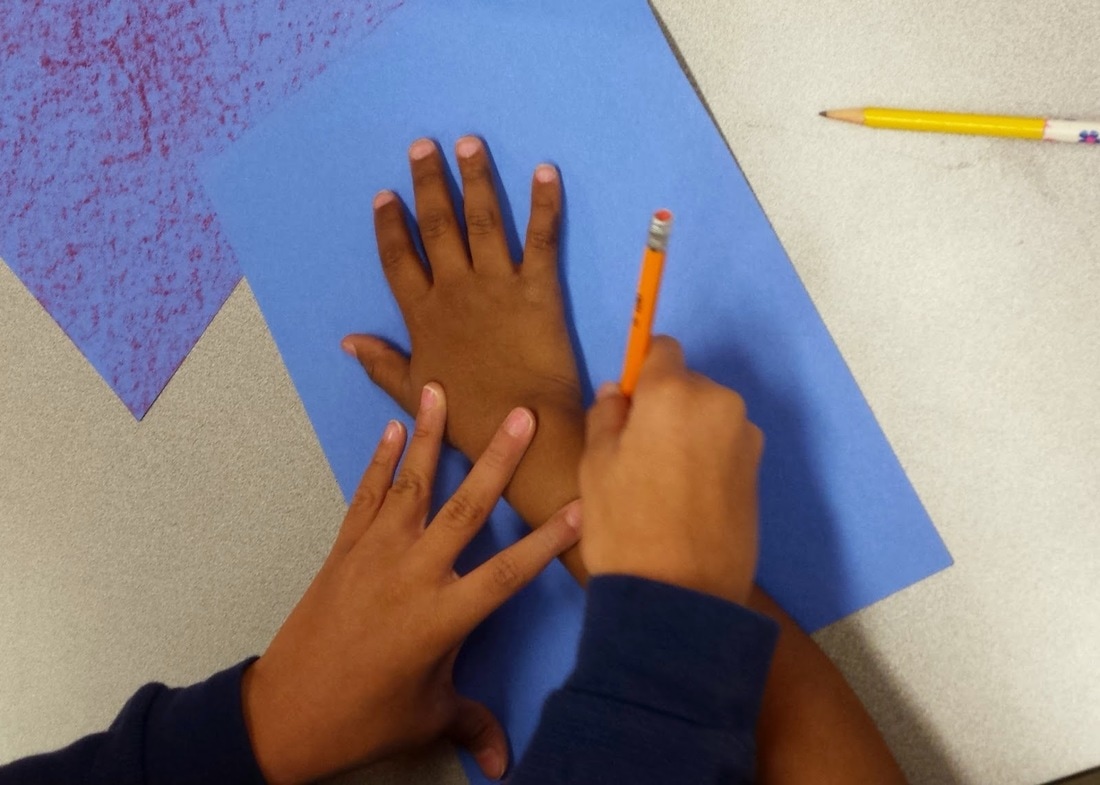
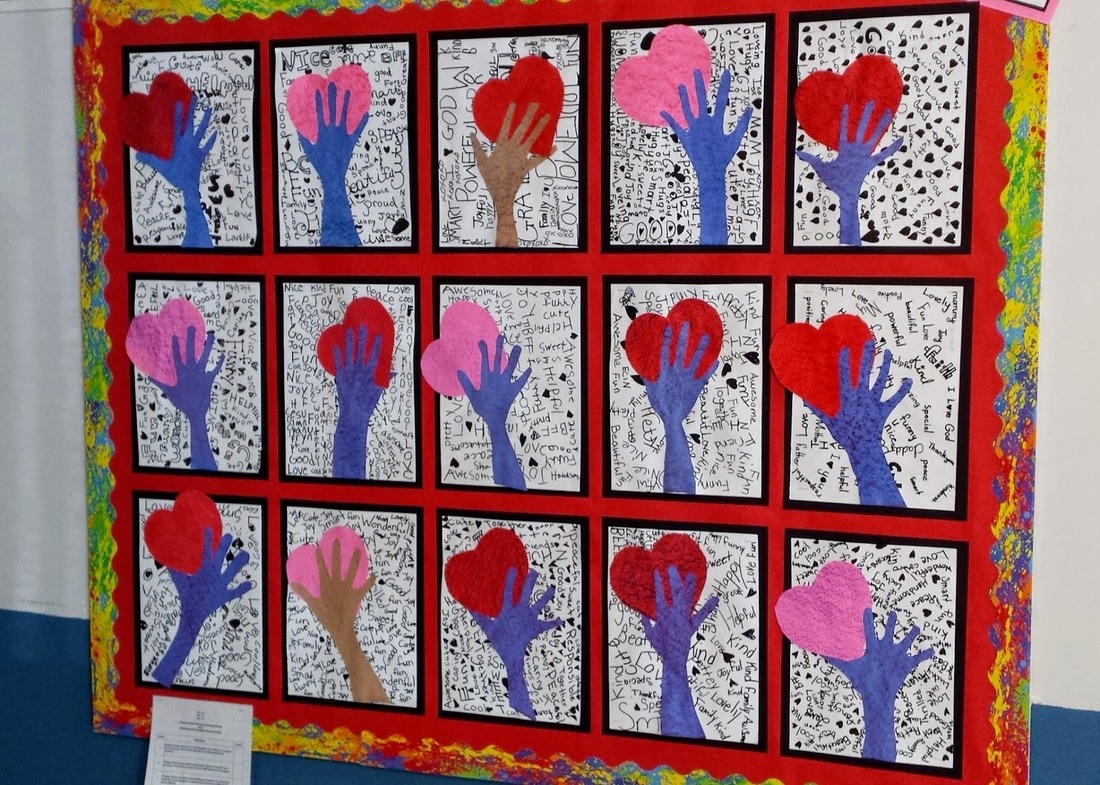
Valentine Art - Holding Heart
Students filled their background with positive/nice words. Then by rubbing the side of different crayons, students gave their colored construction paper a textured look before tracing their hand and a heart on the opposite side. Everything was cut out and glued down to complete their artwork.
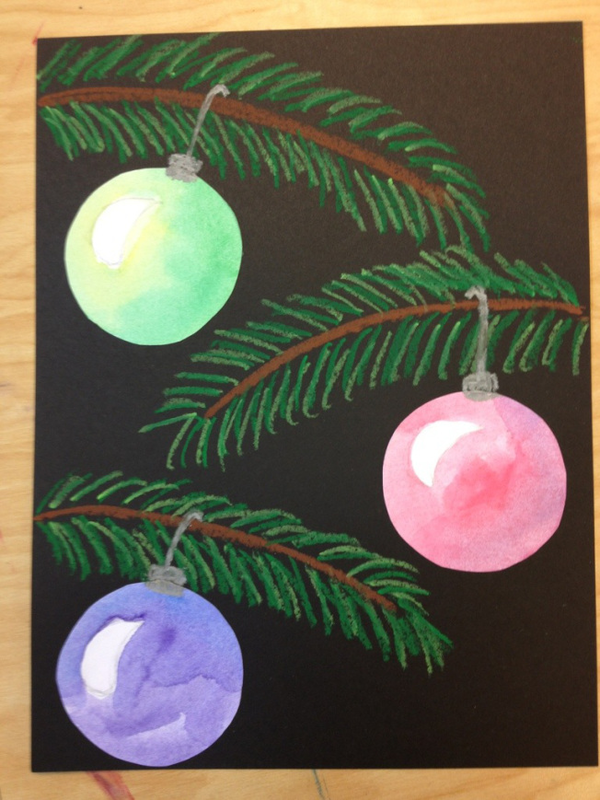
Christmas Art

|
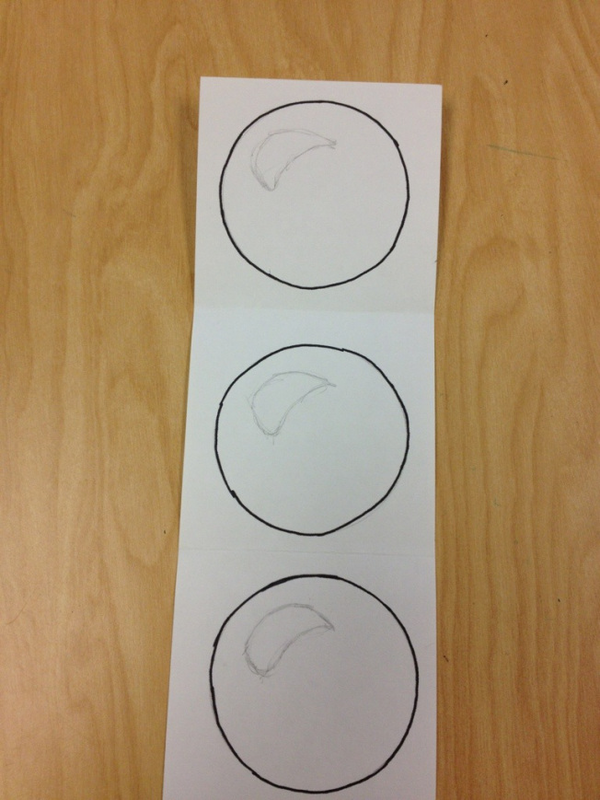
1. We started with some practice on some spheres and adding value.
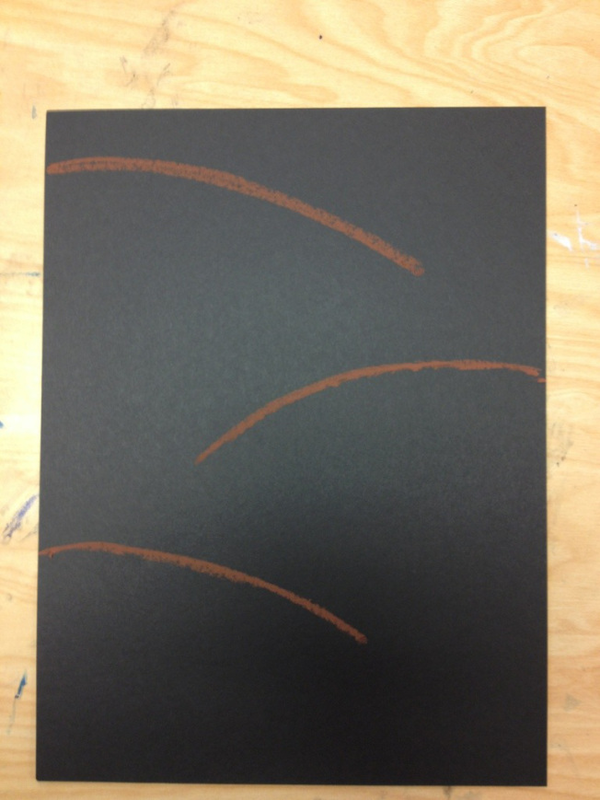
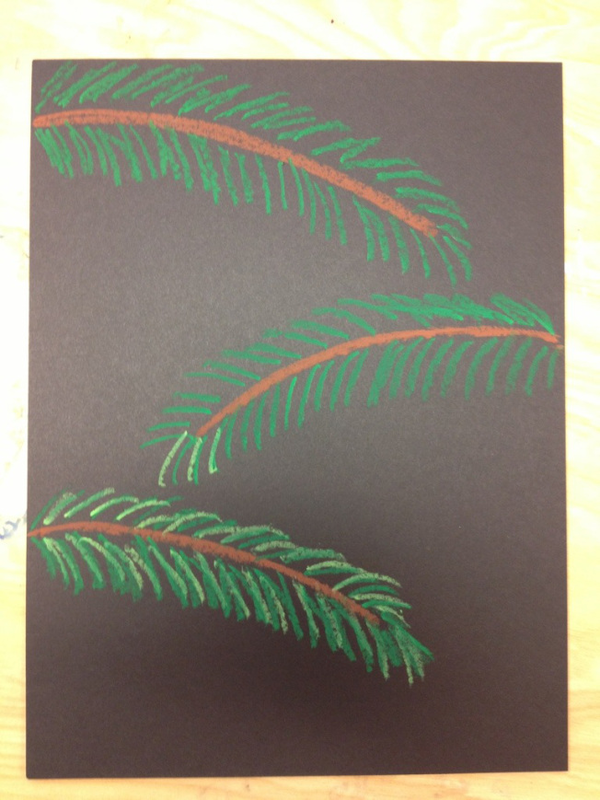
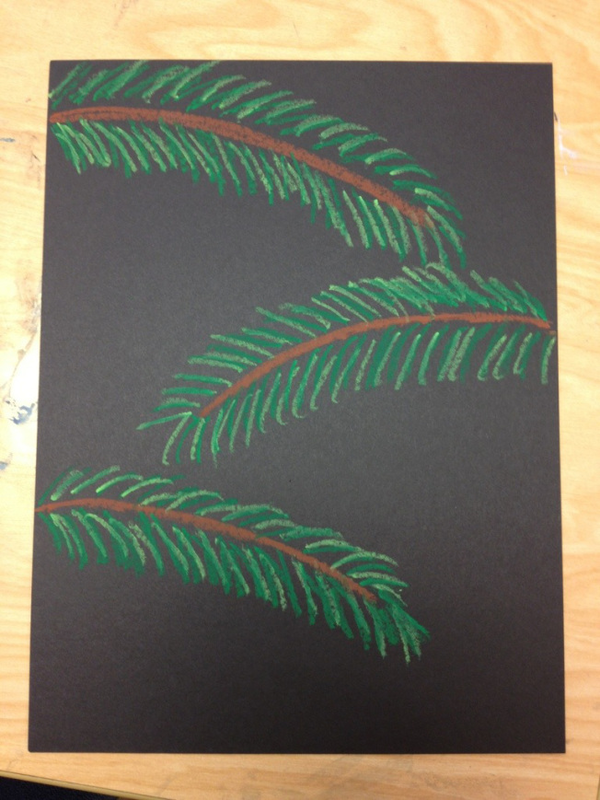
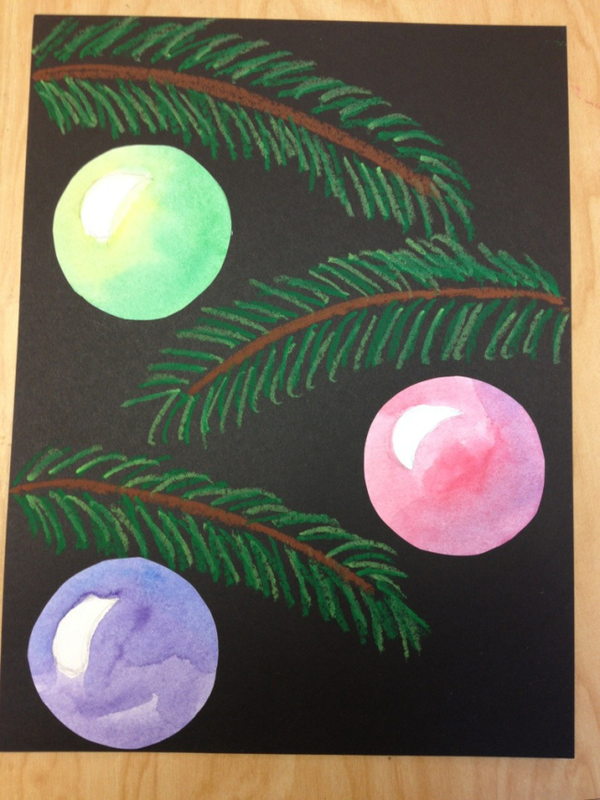
2. Then I passed out these three circles for them to paint. We added the highlight with pencil lightly first, just to make sure we didn’t cover it up by accident. 4. We are using analogous colors to paint each ornament. 5. While those dry, we make the simple background. Using a black sheet of construction paper, we used oil pastels to make the pine branches. 6. Cut out your circles and glue them on, leaving enough space to add the ornament hangers. I used a silver oil pastel to make my hangers. Simple and beautiful! I told them they could add snow or whatever in the background. They turned out beautifully! |
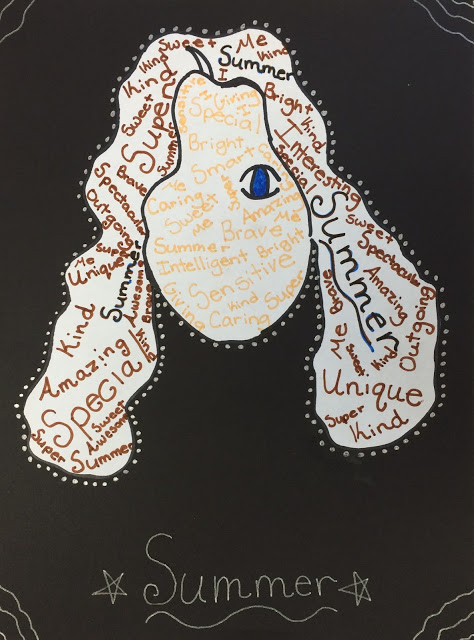
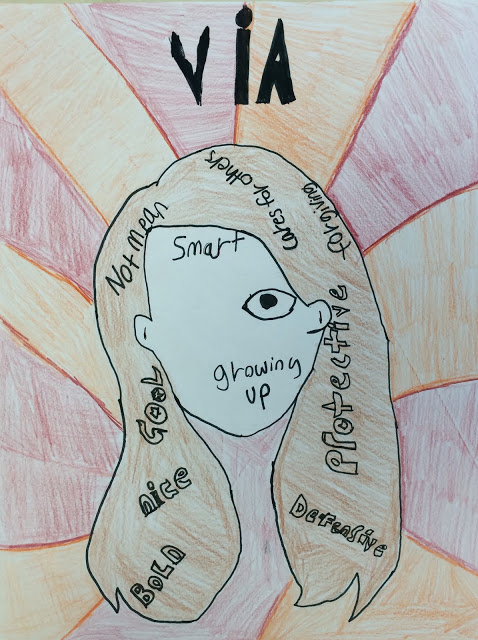
Wonder by R.J. Palacio
I asked students to brainstorm a list of important characters/events and adjectives associated with their favorite character/perspective. From there, they created word art in the characters' heads characterizing their perspective! Take a look at some of their work...
|
|
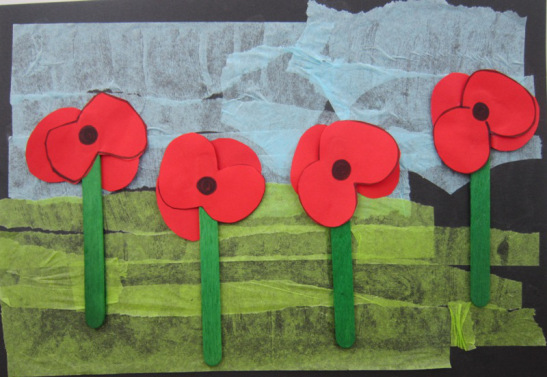
Remembrance Day Art
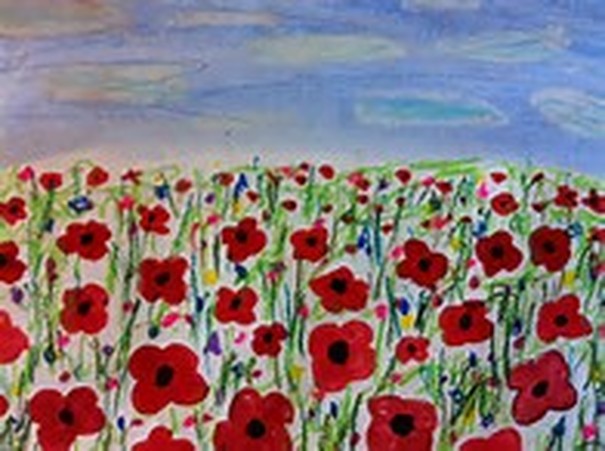
This week, Grade 4/5 painted these poppy landscapes in honour of Remembrance Day.
Students began with a tempera wash for the sky, then began adding poppies, starting at the bottom of the page going from large size to small size (little red dots). (I reviewed the concept of foreground, middle ground, and background at this point.) Black dots were then painted in the flowers and oil pastel was used for the grass, additional flowers, and clouds
Students began with a tempera wash for the sky, then began adding poppies, starting at the bottom of the page going from large size to small size (little red dots). (I reviewed the concept of foreground, middle ground, and background at this point.) Black dots were then painted in the flowers and oil pastel was used for the grass, additional flowers, and clouds
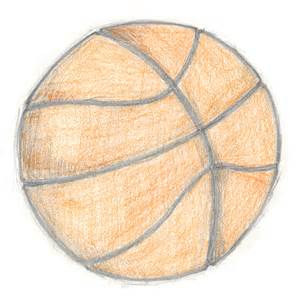
Pencil Drawings - Sports Theme
|

|
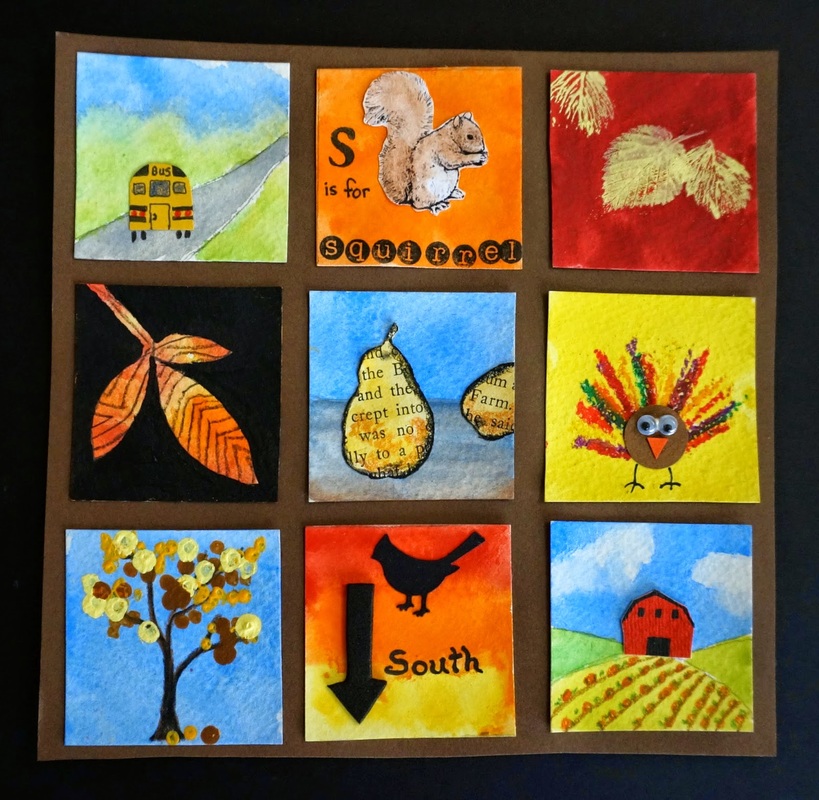
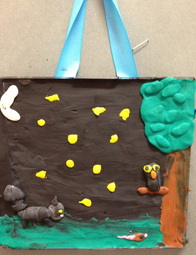
Fall Inchies
Row #1
MATERIALS REQUIRED:
- 3 inchies cut from wc paper, mine are 2x2"
- watercolour or disk tempera
- scrap of yellow paper
- black sharpie pen
- pencil crayons
- little alphabet stamps
- black stamp pad
- squirrel clip art (if you can't access the link on google drive email me and I'll send it to you) [email protected]
- small leaves from garden
- light yellow acrylic or liquid tempera paint
Pastel Sketches inspired by the Malaise Trap Program
Remembrance Day Art
Flanders Fields
In Flanders fields the poppies blow
Between the crosses, row on row,
That mark our place; and in the sky
The larks, still bravely singing, fly
Scarce heard amid the guns below.
We are the Dead. Short days ago
We lived, felt dawn, saw sunset glow,
Loved and were loved, and now we lie,
In Flanders fields.
Take up our quarrel with the foe:
To you from failing hands we throw
The torch; be yours to hold it high.
If ye break faith with us who die
We shall not sleep, though poppies grow
In Flanders fields.
Fancy Nancy Name Trading Cards
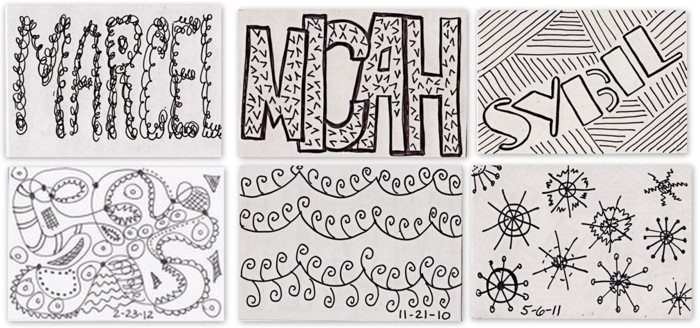
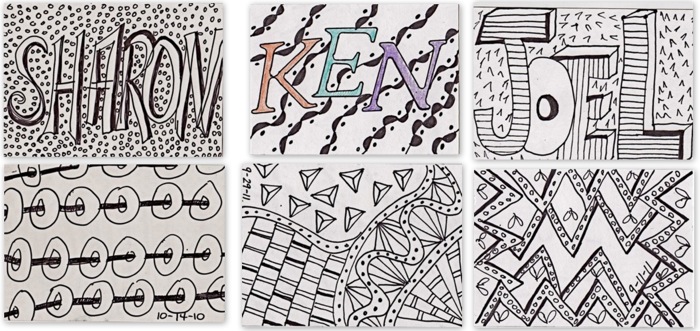
Zentangles
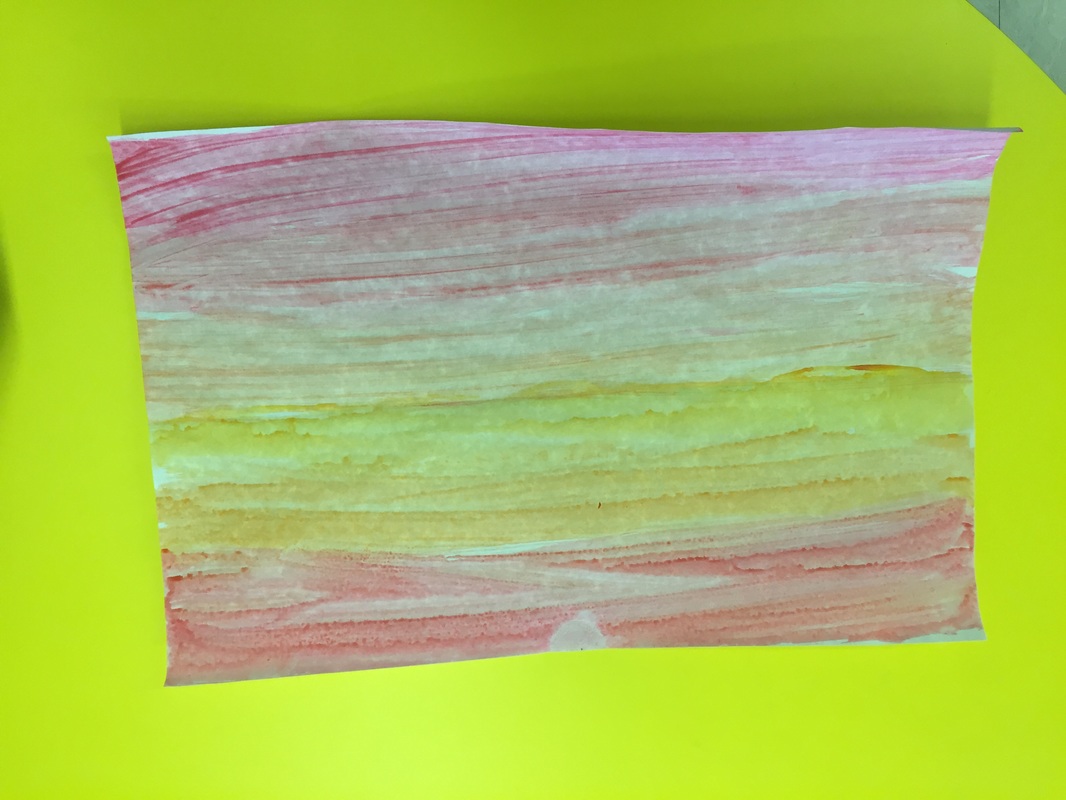
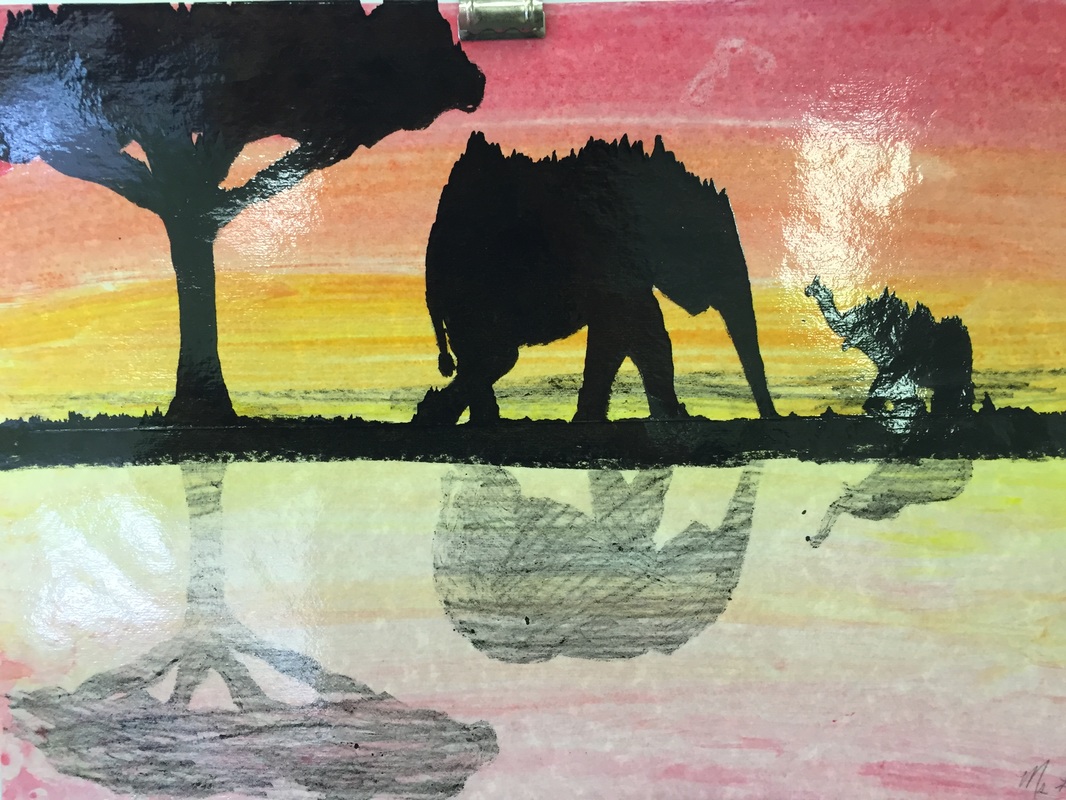
Horizon Reflection
|
Tempura paint with water. (yellow, orange, red) Black pastels.
|
|
Cardinal Drawing with Pastels
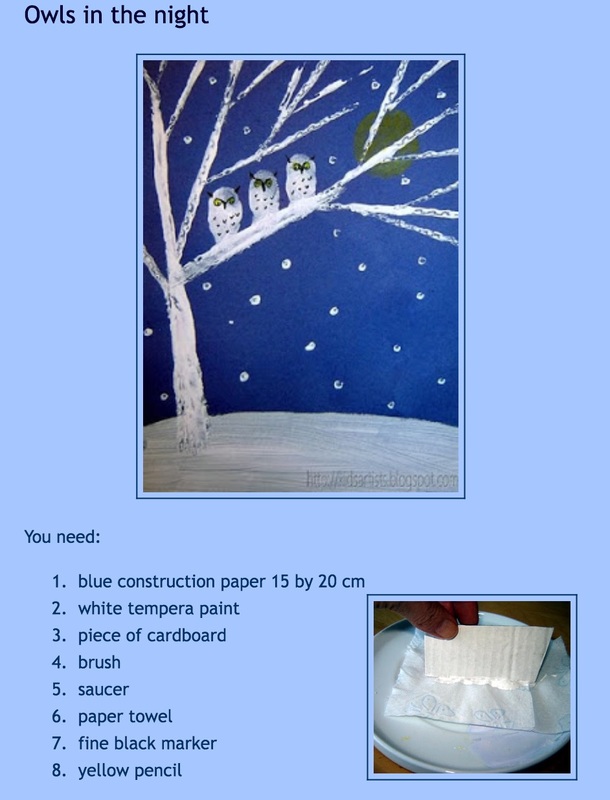
Owls At Night
|
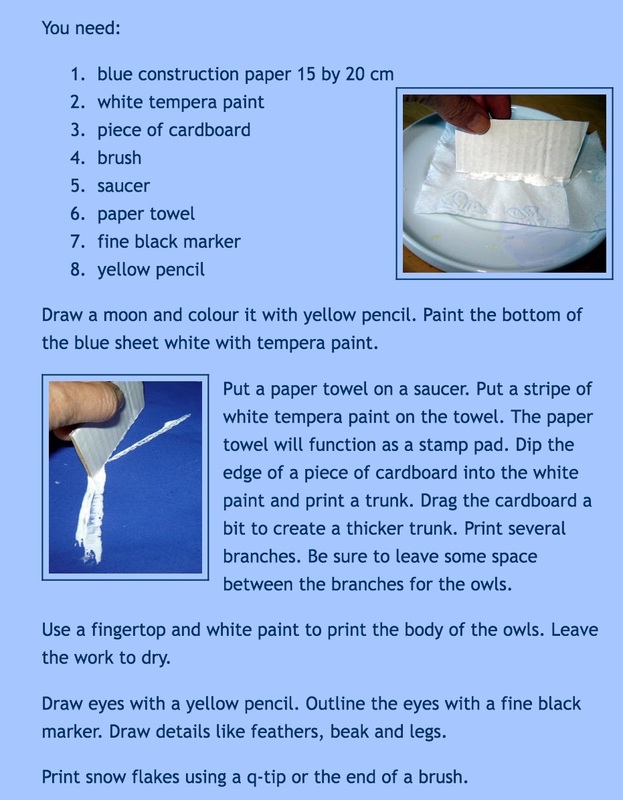
|
Mother's Day Card


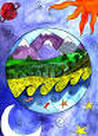
Earth Day Art
Supplies:
Watercolor Paper
Permanent Black Pen
Watercolor Paint/Brushes
Water bowl/paper towels
You can also complete this project with markers or color pencils, whatever you have on hand.
1. Start by talking to your kids about what they love about nature. Come up with 3 or 4 specific things to draw in your artwork (animals, trees, water, sun, mountains etc)
2. Use scratch paper to practice drawing very basic shapes that represent things on your list. ‘Stick figure’ style drawing works great for this. The purpose is to get your hands warmed up to drawing and decide on some images you want to draw in your artwork.
3. Use a plate or other circular object to trace a circle onto your watercolor paper.
4. Using a permanent pen, draw a line roughly across the middle of the circle. If you’re going with a ‘land’ and ‘ocean’ theme, everything above the line can be land and below the line, ocean.
5. Draw ‘things from nature’ with a permanent pen above and below the mid-line you drew on your paper.
6. Color your picture. Markers, color pencils and watercolor will all work great. For small areas, use a small brush or small tip to help keep the shape you drew. Or you can ‘wash’ transparent layers of watercolor over your drawing and allow colors to blend together, not worrying about staying inside the shapes you’ve drawn.


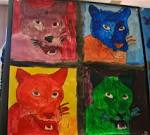
Pop Art
Watch this video to learn about Andy Warhol's famous pop art.

|
|
|
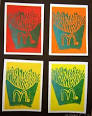
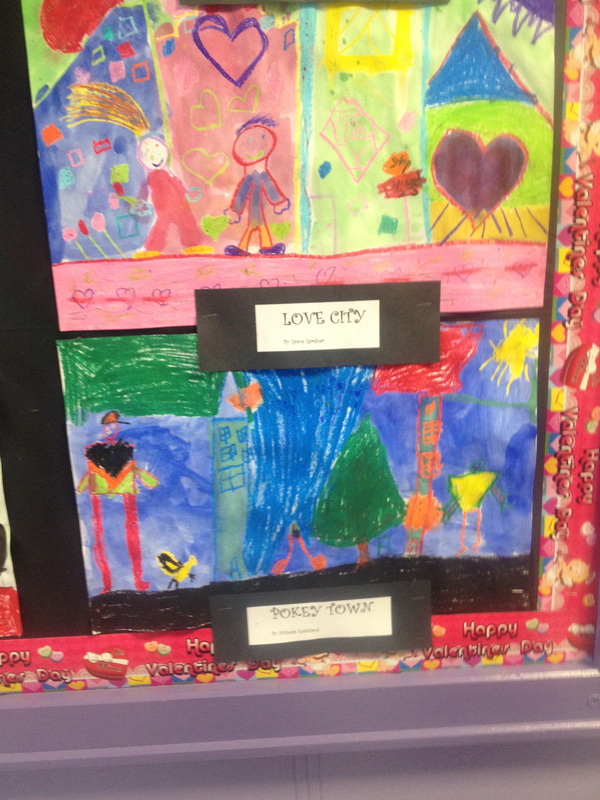
Ernst Ludwig Kirchner
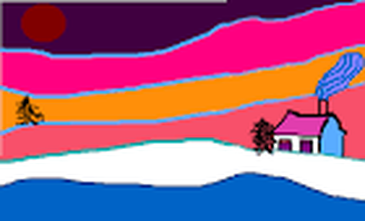
Kircher was an expressionist artist from Germany who changed the colour of things to express his feelings.
The students painted a city where everything was coloured to fit their mood.
The students painted a city where everything was coloured to fit their mood.

|
|
Zentangles
The process of creating a Zentangle is a form of “artistic meditation” as one becomes completely engrossed in making each pattern, deliberately focusing on “one stroke at a time”®. The creativity options and pattern combinations are boundless. And anyone can do it!
|
|
|
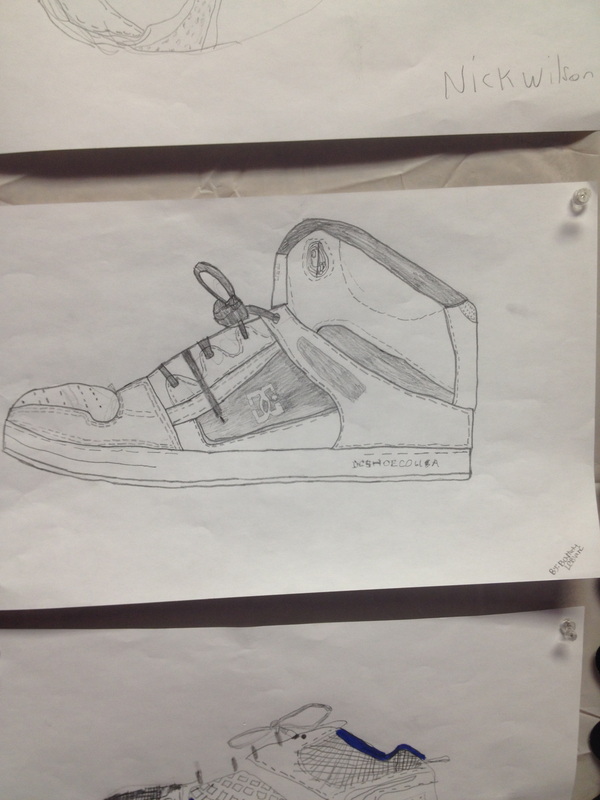
Pencil Sketch of Shoes and Sneakers
|

|
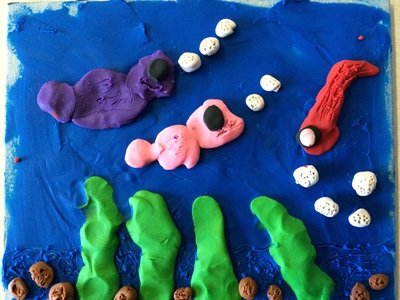
Using Plasticine
|
|
Inspired by Ted Harrison - Please click the link for additional information about Ted Harrison.
Winter Animals Unit: Polar Bears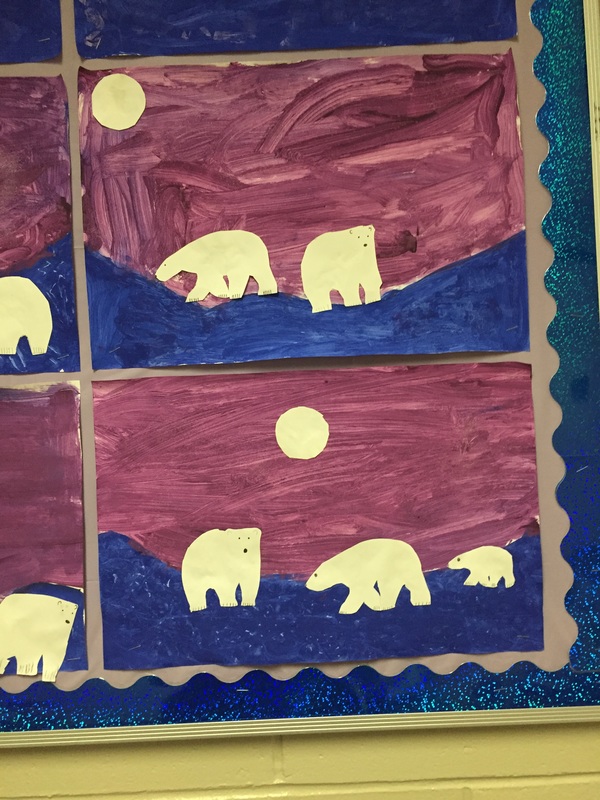
|

|
